#DOORDIY: Weatherproofing Your Door With A Sill Pan
#DoorDIY: Weatherproof Your Door With Weatherstrip
VersaPan Universal Sloped Sill Pan Kit:
- 1 kit = 1 sill pan
- Single doors and/or openings up to 40″ – 1 kit needed
- Double/patio openings up to 80″ – 2 kits needed
- Above 80″ – 3 kits needed
- Sill pans can be combined to meet any opening length.
- Click here to view and purchase
- Corner seals (included in kit)
- Larger openings using more than 1 kit: flashing tape (included)
- Measuring Tape
- Fasteners (screws/staples/nails) – 1/2″ length minimum
- Cutting Tool (knife/scissors)
#DoorDIY: How to Weatherproof Your Door With A Sill Pan
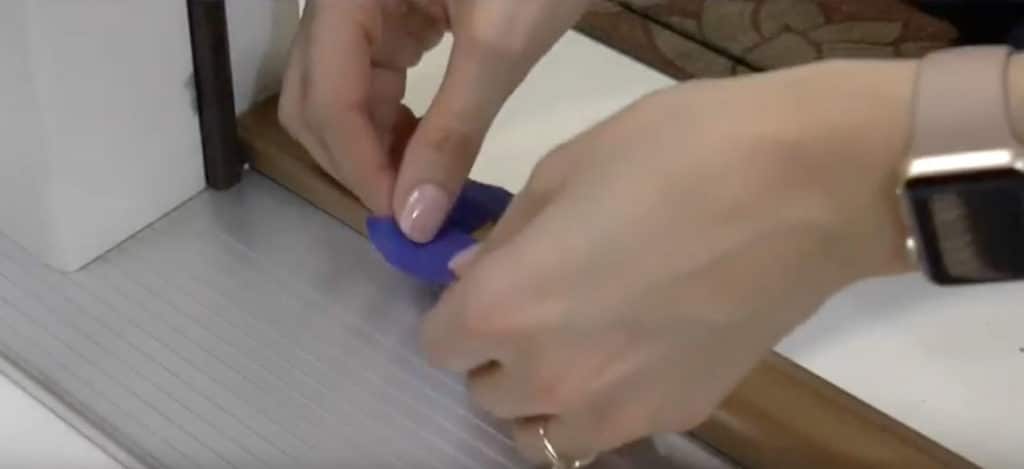
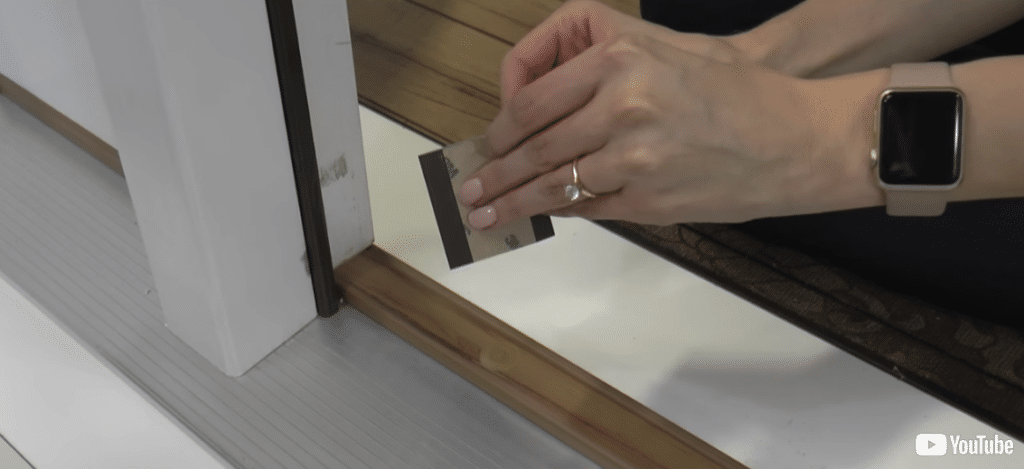
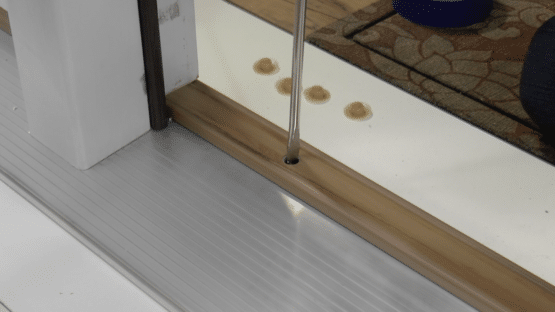
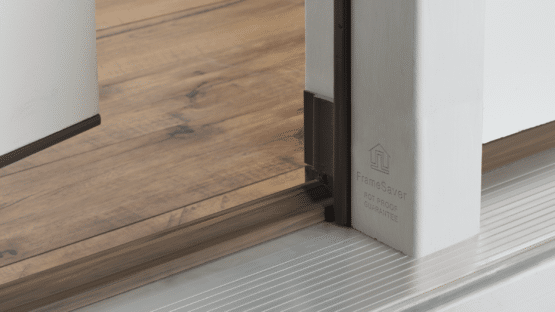
Whether you’re installing an entirely new exterior door system or replacing your threshold – don’t overlook the benefits of installing a sill pan. Installing a sloped sill pan will add vital protection against damaging leaks for your entryway while protecting your wallet from extensive, costly repairs down the line. Our guide below will take you step-by-step through the process of installing the VersaPan Universal Sloped Sill Pan. The universal option can be custom formed to fit just about any opening size and is a great option for most projects. Before installing, make sure that the previous threshold or door system has been removed, as the sill pan must be installed beneath the door sill.
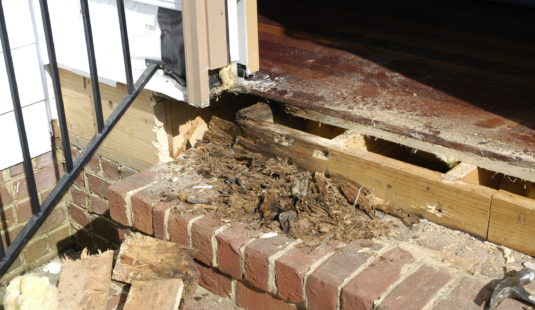
Protect your home and wallet against damage. Once installed, the sill pan creates a barrier against any water leaks that make their way underneath the threshold/door sill. This protection can guard you against costly damage down the line, such as footing the bill to repair a rotted out subfloor or rotted door jamb.
WHY INSTALL A SILL PAN?
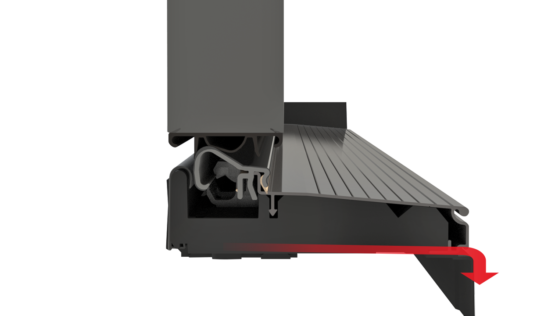
Why Sloped Matters. When choosing the best sill pan for you, it's important to select a sloped option. Sloped sill pans don't just block out water leaks - they go a step further and actually send water back down, out and away from the opening.
CHOOSING A SILL PAN.
Measure and cut the weatherstrip for the header. a. Measure the width of the header frame.
b. Cut the new piece of weatherstrip to match the header width size. Make sure to cut the weatherstrip ends square and even.
STEP 3
b. Cut the new piece of weatherstrip to match the header width size. Make sure to cut the weatherstrip ends square and even.
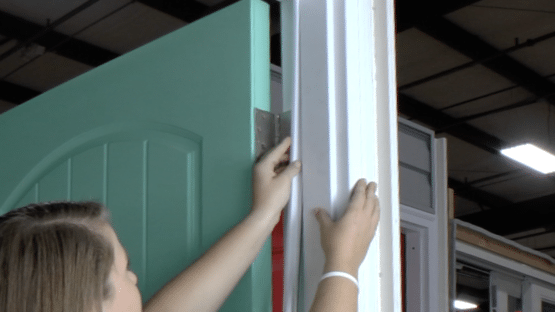
Insert the weatherstrip into the door header. a. Place the end of the weatherstrip against the side jamb. Insert the weatherstrip into the header frame kerf slots with the open side facing upwards.
b. Press the weatherstrip firmly across the entire length of the header to secure it into the kerf slot.
STEP 4
b. Press the weatherstrip firmly across the entire length of the header to secure it into the kerf slot.
Measure and cut weatherstrip for side jambs. a. Measure the left and right jamb or mullion length.
b. Cut the new piece of weatherstrip to match the jamb length minus 1/8``. Make sure to cut the weatherstrip ends square and even.
STEP 5
b. Cut the new piece of weatherstrip to match the jamb length minus 1/8``. Make sure to cut the weatherstrip ends square and even.
Insert the weatherstrip into the side jambs. a. Place the end of the weatherstrip against the header weatherstrip at the top corner. Insert the weatherstrip into the jamb kerf slots with the open side facing towards the door jamb.
b. Starting at the top, press the weatherstrip firmly down the entire length of the jamb to secure into the kerf slot. Repeat for the other jamb.
STEP 6
b. Starting at the top, press the weatherstrip firmly down the entire length of the jamb to secure into the kerf slot. Repeat for the other jamb.
Related Projects
20
Jul

